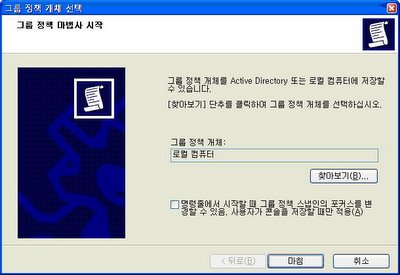
 Windows Key + R 을 눌러 실행창에서 mmc를 누른다.
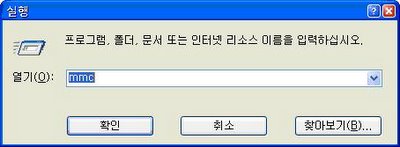

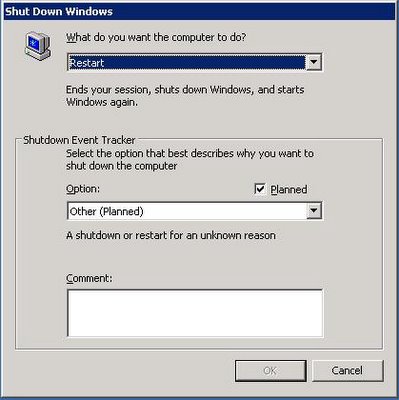
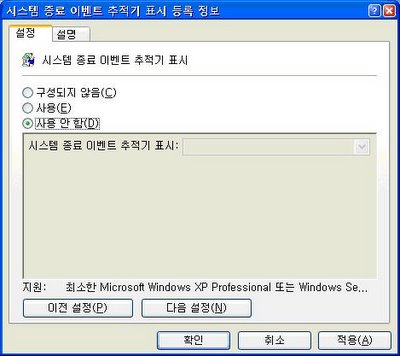 마지막으로 reboot...
Windows Key + R 을 눌러 실행창에서 mmc를 누른다.마지막으로 reboot...
마지막으로 reboot...
Windows Key + R 을 눌러 실행창에서 mmc를 누른다.마지막으로 reboot...
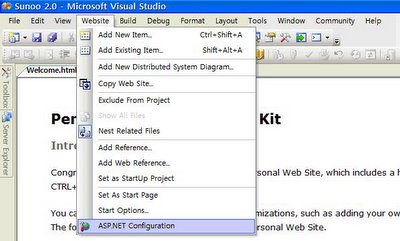
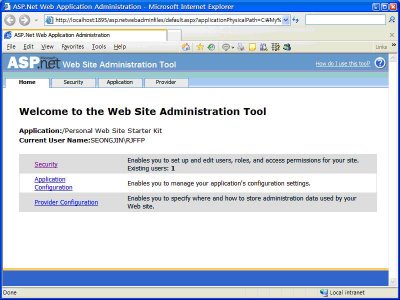
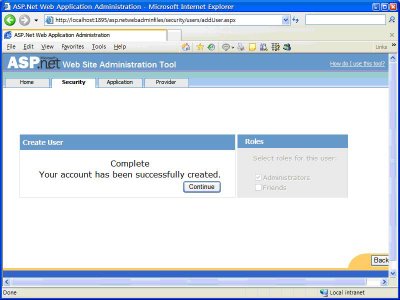
 웹사이트 관리자를 생성한다.
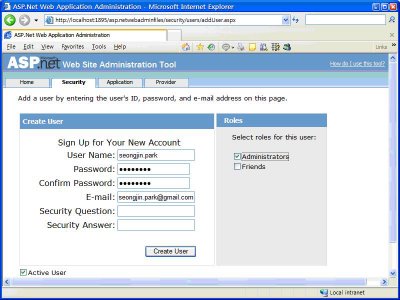
 관리자로 로그인하고 앨범을 생성한다. 주의할 것은 이 프로젝트를 웹서버에 publish를 해서 올린다면 Upload폴더가 없으므로 앨범 생성 전에 폴더를 만들어 준다.
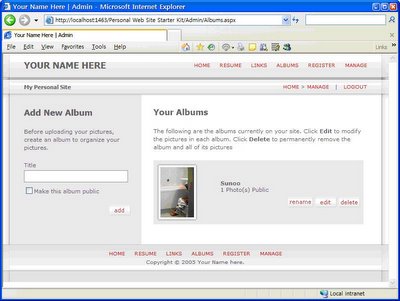
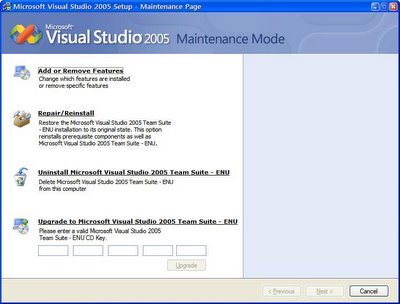
 마지막으로 상위 ASP.NET 1.1과 하위 ASP.NET 2.0이 같이 존재한 경우이기 때문에 각각의 ApplicationPool을 사용하도록 별도의 ApplicationPool을 생성해 주어야 한다.
이런 정보가 DB에서 관리된다. 그럼 SQL Express에 있는 DB Schema를 내 SQL 2005 Developer Edition에 옮겨야겠지...
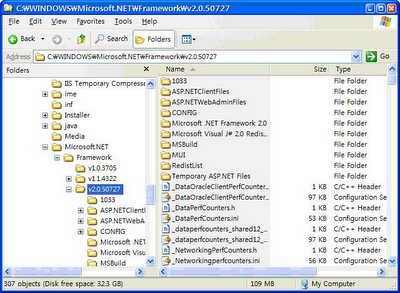
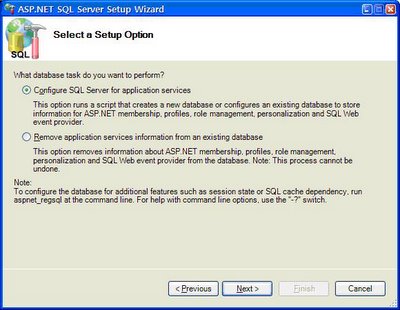
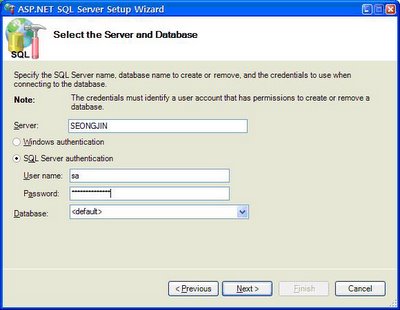
Framework 2.0이 설치된 곳에서 aspnet_regsql.exe utility를 실행한다.
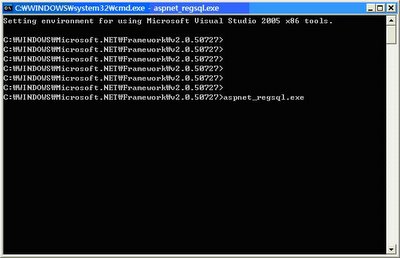
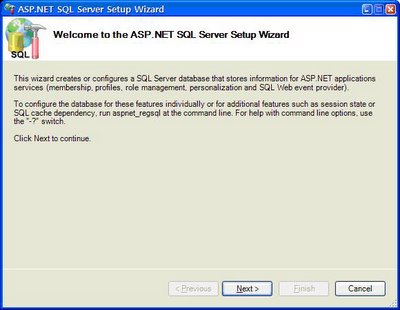
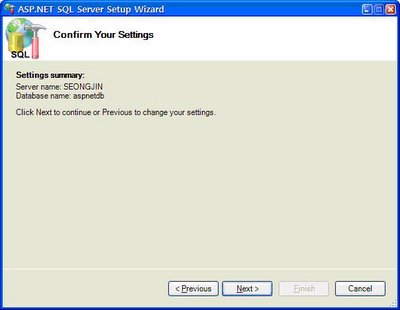
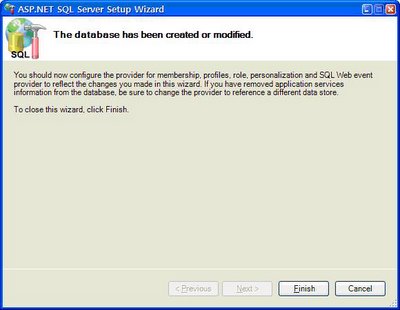 이렇게 하면 aspnetdb가 생성된다.
다음에 Personal Web Site Starter Kit설정 화면을 올릴 계획이다.

레지스트리키는 다음과 같다.....(단 설치된 경로는 꼭 확인 !!!)
Windows Registry Editor Version 5.00
# Windows Command #
[HKEY_CLASSES_ROOT\Directory\shell\cmd]
@="Open Command Window Here"
[HKEY_CLASSES_ROOT\Directory\shell\cmd\command]
@="cmd.exe /k \"cd %L\""
# Visual Studio 2003 Command#
[HKEY_CLASSES_ROOT\Directory\shell\cmd1]
@="Open Visual Studio 2003 Command Window Here"
[HKEY_CLASSES_ROOT\Directory\shell\cmd1\command]
@="cmd.exe /k \"C:\\Program Files\\Microsoft Visual Studio .NET 2003\\Common7\\Tools\\vsvars32.bat\""
#Visual Studio 2005 Command#
HKEY_CLASSES_ROOT\Directory\shell\cmd2]
@="Open Visual Studio 2005 Command Window Here"
[HKEY_CLASSES_ROOT\Directory\shell\cmd2\command]
@="cmd.exe /k \"C:\\Program Files\\Microsoft Visual Studio 8\\VC\\vcvarsall.bat\""
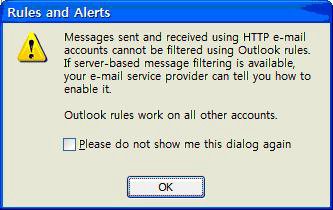
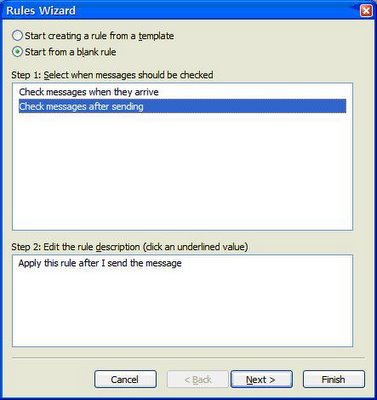
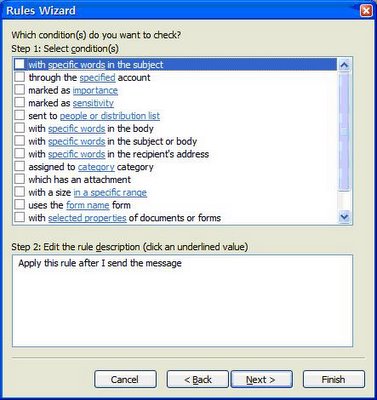 아무 선택을 하지 않고 Next를 한다. 그럼 모든 발송되는 메일에 이 규칙이 적용된다는 아래의 메세지가 뜬다.
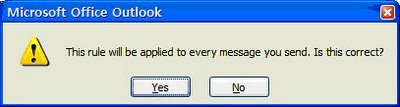 difer delivery by a number of minutes를 선택하고 Step 2에 1분으로 지정한다.
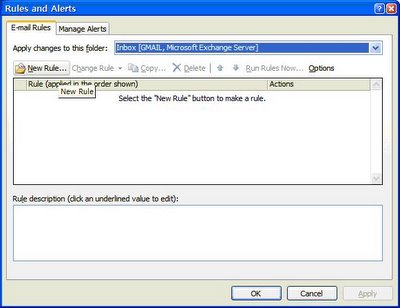
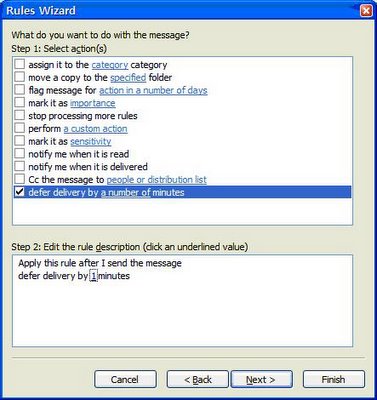 Finish를 눌러 규칙을 저장한다. 아래 메세지는 이 규칙은 클라이언트에서만 적용되는 규칙이고 아웃룩이 실행되고 있을 때만 적용된다는 메세지이다.
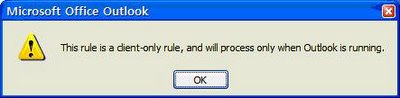
이후에 발송하는 메일은 모두 Outbox(보낼편지함)에서 1분을 쉬었다가 나가게 된다.